
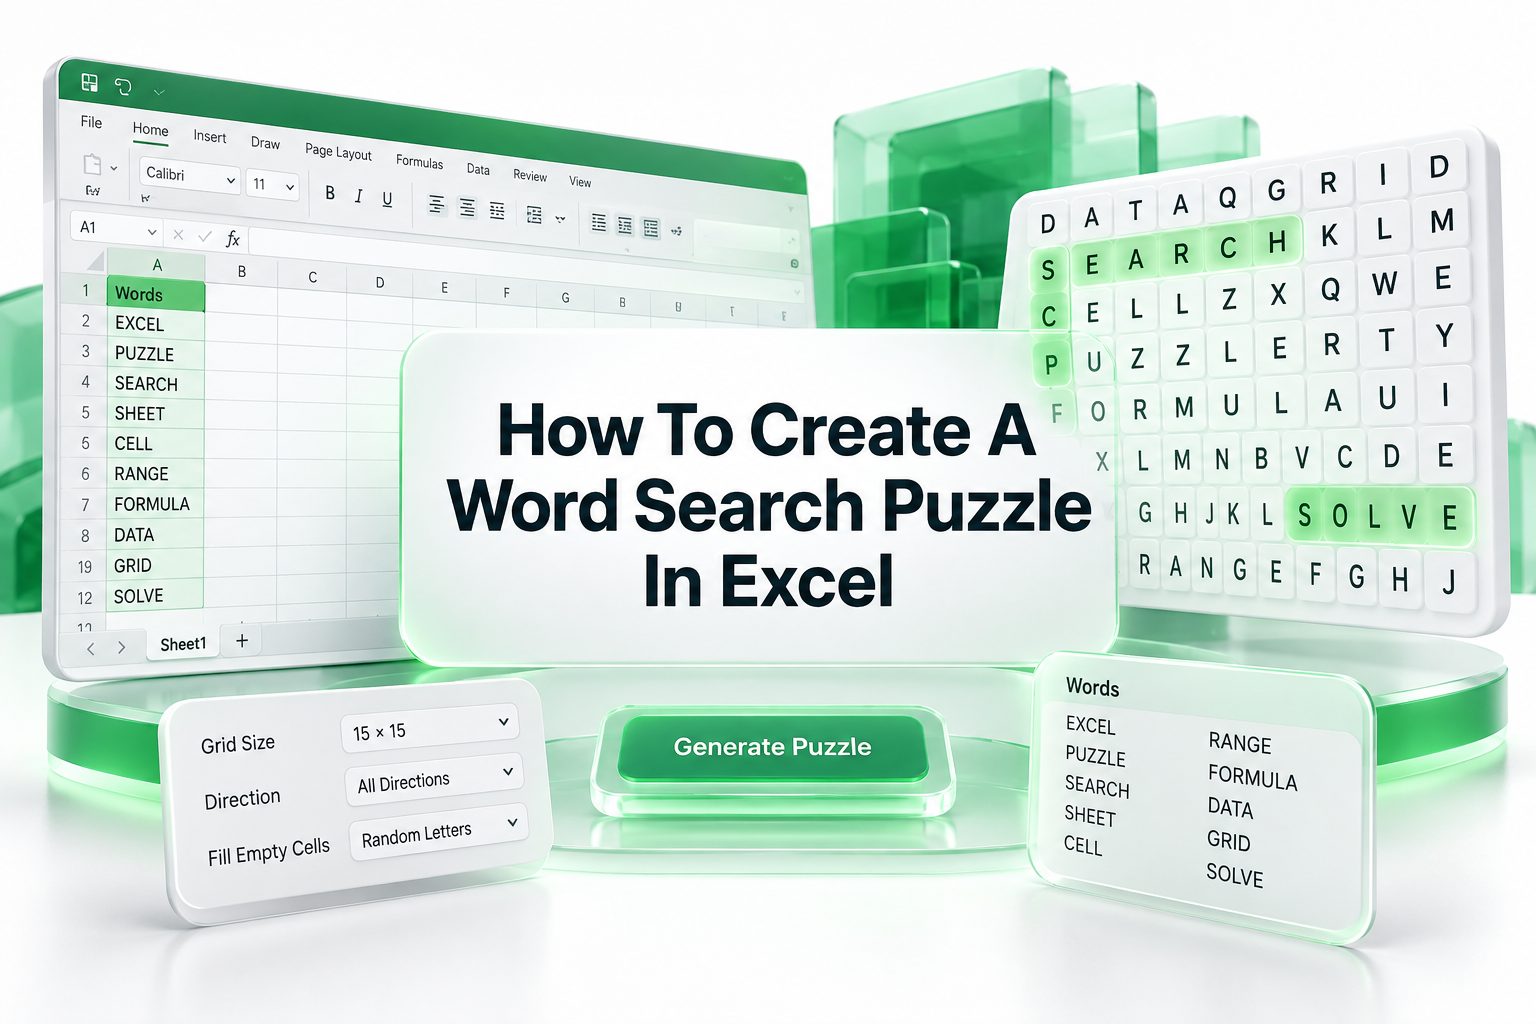
Creating a word search puzzle does not require specialist software or advanced design skills. With a few Excel formulas, careful formatting, and a clear word list, you can build a printable puzzle for classrooms, family activities, newsletters, team events, or online downloads. Excel is especially useful because it gives you control over the grid size, hidden-word placement, colors, fonts, and answer key.
Learning how to create a word search puzzle in excel also gives you a reusable template. Once the basic layout is ready, you can change the theme and words without starting from scratch. Whether you want a simple puzzle for children or a challenging activity for adults, Excel can handle the structure efficiently.
This guide explains the process from planning the word list to placing letters, formatting the grid, checking the answers, and preparing the finished puzzle for printing. It also covers practical techniques that make the activity cleaner, more reliable, and easier to share.
Choose a Theme and Word List
Start by choosing a clear theme for your puzzle. Popular options include animals, holidays, food, science, geography, sports, classroom subjects, and workplace vocabulary. A focused theme helps the puzzle feel intentional and makes it easier for players to identify possible words.
Prepare a list of 8 to 20 words before opening Excel. Keep the words relatively short for a beginner puzzle, and remove spaces, hyphens, apostrophes, and special characters. For example, “ice cream” can become ICECREAM, while “mother-in-law” may need to be shortened or replaced.
A strong word list should include:
- Words related to one central topic
- A mixture of shorter and longer terms
- No duplicate entries
- Letters that are easy to read
- Words suitable for the intended age group
Set Up the Excel Worksheet
Open a blank Excel workbook and decide how large the puzzle should be. A 10-by-10 grid works well for children, while a 15-by-15 or 20-by-20 grid provides more space for longer words and diagonal placements.
Use the first worksheet for the puzzle and, if needed, create a second worksheet for the answer key. Keeping the solution separate prevents accidental clues from appearing on the printable puzzle. You can label the sheets “Puzzle” and “Answer Key” for easy navigation.
Basic setup recommendations:
Grid size: 10 by 10 for simple puzzles
Medium grid: 15 by 15 for general use
Large grid: 20 by 20 for advanced puzzles
Suggested font: Calibri, Arial, or Verdana
Suggested font size: 14 to 18 points
Enter the Puzzle Grid
Select the cells that will form the puzzle area, such as A1:J10 for a 10-by-10 design. Set the column width and row height to similar measurements so the cells appear square. You can adjust these settings by selecting the rows and columns, opening the formatting menu, and entering matching dimensions.
Next, add borders to every cell. A thin inside border and a medium outside border usually create a clean appearance. Center-align all text horizontally and vertically. These small formatting details make the letters easier to scan and give the finished puzzle a professional look.
Use a larger font when the puzzle will be printed for children or older adults. For digital use, slightly smaller letters may be acceptable, but avoid squeezing too many cells onto one screen. Readability matters more than fitting the entire puzzle into a compact area.
Place Words Horizontally
The simplest way to add words is to place them from left to right across selected rows. Choose a starting cell, then enter one letter per cell. For example, the word PLANET placed in row 3 could occupy cells C3 through H3.
Leave enough room around each word to support the remaining entries. If the word is too close to the edge, it can restrict future placements. It is also useful to vary the starting columns and rows so the puzzle does not appear overly predictable.
Horizontal words are ideal for beginner puzzles because they are easy to identify. To increase difficulty, place some words backward from right to left. However, make sure reverse words are clearly included in the answer key so players can verify their findings.
Place Words Vertically
Vertical words run from top to bottom or bottom to top. To place one, select a starting cell and enter each letter in a separate row while keeping the same column. For instance, the word GARDEN could run from B2 to B7.
Check every vertical placement against words already in the grid. If a letter conflicts with an existing entry, move the word to another column or choose a different starting row. Avoid forcing words into tight spaces, since this can make the final grid look uneven.
Vertical placements add variety without making the puzzle excessively difficult. A balanced beginner puzzle might use mostly horizontal and vertical words, while an advanced version can include more reversed and diagonal entries.
Quick placement checklist:
- Confirm that the entire word fits inside the grid
- Check every crossing letter
- Record the starting and ending cells
- Avoid placing similar words too close together
- Keep a separate list of completed placements
Add Diagonal Words
Diagonal words make a word search more challenging. They can move from upper-left to lower-right, upper-right to lower-left, or in the reverse direction. Before entering a diagonal word, map its path carefully so each letter lands in the correct row and column.
A useful method is to write down the starting cell and direction before typing. If the word begins at D2 and moves down-right, the next letters go to E3, F4, G5, and so on. This prevents common errors caused by skipping a cell or changing direction halfway through.
Do not use too many diagonal words in a puzzle designed for young children. Two or three can add interest without creating frustration. For adult or advanced puzzles, diagonal placements can make the activity more engaging and help distribute words throughout the grid.
Placement directions to consider:
- Left to right
- Right to left
- Top to bottom
- Bottom to top
- Upper-left to lower-right
- Lower-right to upper-left
- Upper-right to lower-left
- Lower-left to upper-right
Fill Empty Cells with Random Letters
Once all planned words are in place, fill the remaining blank cells with random letters. You can enter letters manually for a small puzzle, but a formula is faster for a larger grid. In a selected cell, use a formula such as =CHAR(RANDBETWEEN(65,90)) to generate a random uppercase letter.
Random formulas recalculate whenever Excel updates the worksheet. This can change the filler letters unexpectedly, so copy the completed grid and paste it as values before finalizing the design. Converting formulas to fixed letters ensures that the puzzle remains stable when printed or shared.
Review the filler letters carefully. Random letters should not accidentally create unwanted words that could confuse players. You do not need to eliminate every possible short word, but avoid obvious extra answers, especially if the puzzle is intended for educational use.
Formula and review tips:
- Use uppercase letters consistently
- Convert random formulas to fixed values
- Check for accidental theme words
- Replace awkward letter clusters if needed
- Save a backup before making changes
Create a Visible Word Bank
Place the word list beside the grid or underneath it. A visible word bank tells players what to search for and makes the activity more accessible. Sort the words alphabetically, by length, or by difficulty depending on the audience.
Use a separate column for the word bank and apply a readable font. You can add a heading such as “Find These Words” above the list. If the puzzle is part of a worksheet, leave enough space for students or players to mark each word as they find it.
For a more polished design, use two columns when the list is long. Keep the word bank visually separate from the grid with a light fill color or a simple border. Avoid bright colors that compete with the letters or make printing expensive.
Make the puzzle more accessible by:
- Using high-contrast text
- Avoiding decorative fonts
- Keeping word spacing consistent
- Including longer words clearly
- Printing a test copy before distribution
Build an Answer Key
An answer key helps teachers, parents, event organizers, and publishers verify the puzzle. The easiest method is to duplicate the puzzle worksheet, rename the copy “Answer Key,” and highlight each hidden word directly in the grid.
Use a different fill color for each word or apply a light transparent-looking color if your version of Excel supports it. When several words cross, overlapping highlights may become difficult to read. In that case, use colored borders, bold text, or a numbered placement list.
You can also create a separate answer table showing each word, its starting cell, ending cell, and direction. This is especially useful for digital worksheets where cell highlighting may not print clearly.
An answer key can include:
- The completed grid
- Highlighted word paths
- Starting and ending coordinates
- Direction for each word
- Notes about overlapping entries
Use Excel Formulas for Letter Generation
Excel formulas can speed up repetitive tasks, especially when you create several puzzles with similar layouts. The RANDBETWEEN function generates random numbers, while CHAR converts those numbers into letters. Together, they provide a practical way to fill blank cells.
For uppercase English letters, the formula =CHAR(RANDBETWEEN(65,90)) creates a character from A through Z. If your puzzle uses a specific vocabulary set, you can instead select random letters from a custom list using functions such as INDEX and RANDBETWEEN.
Formula-based generation is helpful, but it should not replace manual checking. Excel does not automatically know which accidental letter sequences are acceptable. Review the completed puzzle visually and compare it with the intended word list before sharing it.
Formula precautions:
- Convert formulas to values before publishing
- Check that every cell contains one letter
- Avoid formulas that generate blank spaces
- Keep the original template untouched
- Test formulas in a small range first
Useful Excel Functions for Puzzle Creation
The CHAR function is useful for generating alphabetic characters, while RANDBETWEEN supplies random numbers. COUNTIF can help confirm whether a word appears in a selected range, although it is more useful for checking individual rows or columns than diagonal paths.
CONCAT and TEXTJOIN can combine letters for review purposes. For example, you can combine a row into one text string and search for a target word. This method can help identify horizontal entries, but vertical and diagonal words still require additional checking.
Conditional formatting can also improve the workflow. You can use it to highlight cells containing selected letters, flag duplicate entries in the word bank, or identify blank cells before the puzzle is finalized.
Useful functions and tools include:
- CHAR for letter generation
- RANDBETWEEN for random values
- COUNTIF for checking repeated entries
- TEXTJOIN for combining cell text
- Conditional Formatting for visual checks
- Freeze Panes for keeping headings visible
Design a Clear Printable Layout
A good puzzle should print cleanly on one page whenever possible. Set the page orientation to portrait or landscape based on the grid size, then adjust margins and scaling. Use Print Preview before exporting to PDF or sending the worksheet to a printer.
Add a simple title at the top of the worksheet. The title can mention the theme, such as “Ocean Animals Word Search.” Beneath it, provide a short instruction line explaining that words may appear horizontally, vertically, diagonally, or backward.
Keep decorative elements limited. A small themed border or accent color can improve presentation, but heavy graphics may reduce readability and use unnecessary ink. The grid and word bank should remain the most prominent parts of the page.
Before printing, confirm that:
- The full grid appears on the page
- No word list items are cut off
- Grid lines are visible
- Text remains readable at normal size
- Headers and footers do not overlap the puzzle
Improve Difficulty for Different Audiences
Difficulty depends on more than grid size. Hidden-word direction, word length, letter density, theme familiarity, and visual design all influence how challenging the puzzle feels. A small grid with reversed diagonal words may be harder than a large grid containing only horizontal entries.
For children, use familiar vocabulary and include a clear word bank. Place most words forward and limit diagonal entries. For adults, use longer words, less obvious themes, and a mixture of directions. You can also remove the word bank for an advanced version.
Consider making multiple versions from one template. A beginner worksheet can use a 10-by-10 grid and eight words, while a harder version can use a 15-by-15 grid with fifteen words. This approach saves time and supports different skill levels.
Difficulty controls include:
- Grid dimensions
- Number of hidden words
- Word length
- Reverse placements
- Diagonal placements
- Similar-looking letter combinations
- Presence or absence of a word bank
Avoid Common Puzzle-Making Errors
The most common mistake is placing a word incorrectly. One skipped cell can change the intended answer and create confusion. Record every placement as you work, then compare the coordinates with the final worksheet.
Another problem occurs when filler letters accidentally create duplicate answers. While accidental short words are difficult to avoid completely, obvious theme words should be checked. If necessary, replace a few filler letters manually after converting the formulas to values.
Formatting errors can also affect usability. Uneven cells, tiny fonts, weak borders, and poor contrast may make a well-constructed puzzle frustrating to complete. Always print or preview the finished worksheet at the size your audience will use.
Common errors to check:
- Misspelled entries
- Missing letters
- Words extending beyond the grid
- Inconsistent capitalization
- Hidden words absent from the key
- Accidental duplicate answers
- Cropped print areas
Save and Reuse the Template
Save the workbook as an Excel template after completing the layout. A reusable template can include the grid, title area, word bank, instructions, formatting, and answer-key structure. Each new puzzle then requires only a new theme and a fresh set of entries.
Keep a master copy with formulas and a separate publication copy with fixed letters. This protects your original setup while allowing you to adjust the final puzzle safely. Use clear file names that include the theme and version number.
Cloud storage or a reliable backup location can prevent lost work. If multiple people review the puzzle, use file names such as “Space Words Puzzle Draft” and “Space Words Puzzle Final” to avoid confusion between versions.
A reusable template should contain:
- A formatted puzzle grid
- A word-bank area
- An instruction section
- An answer-key worksheet
- Suggested print settings
- Notes about formulas and cell ranges
Share the Puzzle Digitally
Excel files are convenient for editing, but PDF files are often better for sharing or printing. Export the finished puzzle and answer key as separate PDFs so players receive only the activity while organizers retain the solution.
If you plan to share the worksheet online, test the file on a different device. Fonts, page breaks, and print settings may appear differently depending on the software used. A PDF preserves the visual layout more reliably than an editable workbook.
You can also share the workbook as a digital activity, but protect formula cells and answer-key content if other users should not modify them. Excel’s sheet protection options can limit editing while still allowing the puzzle to be viewed or printed.
Recommended sharing formats:
- Excel workbook for editing
- PDF for printing
- Separate answer-key PDF for organizers
- Image file for social media previews
- Protected workbook for classroom distribution
Final Quality-Control Checklist
Before publishing or distributing the puzzle, complete a full review. Start by checking the spelling of every word in the word bank. Then locate each entry in the grid and confirm that its letters appear in the correct order and direction.
Review the design from the player’s perspective. Is the title clear? Can every letter be read quickly? Does the word bank stand out without overpowering the grid? A short test with another person can reveal problems that are easy to miss when you created the puzzle yourself.
For more worksheet design ideas, visit [Internal Link: Printable Activity Worksheets]. If you create classroom materials regularly, you may also find [Internal Link: Excel Worksheet Templates] useful for organizing reusable resources.
Final review checklist:
- Every listed word appears in the grid
- The answer key matches the puzzle
- No letters are missing or misplaced
- The grid is square and evenly spaced
- The font is large enough for the audience
- The puzzle prints on the intended page size
- The file has been saved in the correct format
- The final version has been tested by another reader
Conclusion
Excel provides a practical way to create customized puzzles without purchasing specialist software. By choosing a focused theme, preparing a suitable word list, building a balanced grid, and checking every placement, you can produce a worksheet that looks polished and works correctly.
The most reliable process is to place planned words first, fill unused cells with fixed letters, create a separate answer key, and test the layout before sharing it. Formatting choices also matter. Square cells, strong contrast, readable fonts, and a clean word bank make the activity more enjoyable for every age group.
Whether you are preparing classroom resources, printable games, event materials, or downloadable activities, how to create a word search puzzle in excel becomes much easier once you have a reusable template. Keep the original workbook as a master file, save final versions separately, and review each puzzle from the player’s point of view before publishing.
FAQ
Can Excel automatically create a complete word search puzzle?
Excel can help generate random filler letters and organize the grid, but it does not automatically place words reliably without custom formulas or macros. Manual placement combined with formulas is usually simpler for small and medium puzzles.
What grid size works best for beginners?
A 10-by-10 grid is suitable for beginners, especially when it contains eight to twelve familiar words. Use mostly horizontal and vertical placements, then add one or two diagonals for mild difficulty.
How do I stop random letters from changing?
Copy the completed grid, then use Paste Special and choose Values. This replaces the random formulas with fixed letters, preventing the puzzle from changing whenever Excel recalculates the worksheet.
Can words appear backward in a word search?
Yes, backward words can run from right to left or bottom to top. They increase difficulty, so use them selectively and make sure the answer key clearly shows their starting and ending positions.
How can I print an Excel word search clearly?
Use square cells, a readable font, visible borders, and Print Preview. Adjust page orientation and scaling so the full grid and word bank fit on one page without making the letters too small.
0 Comments