
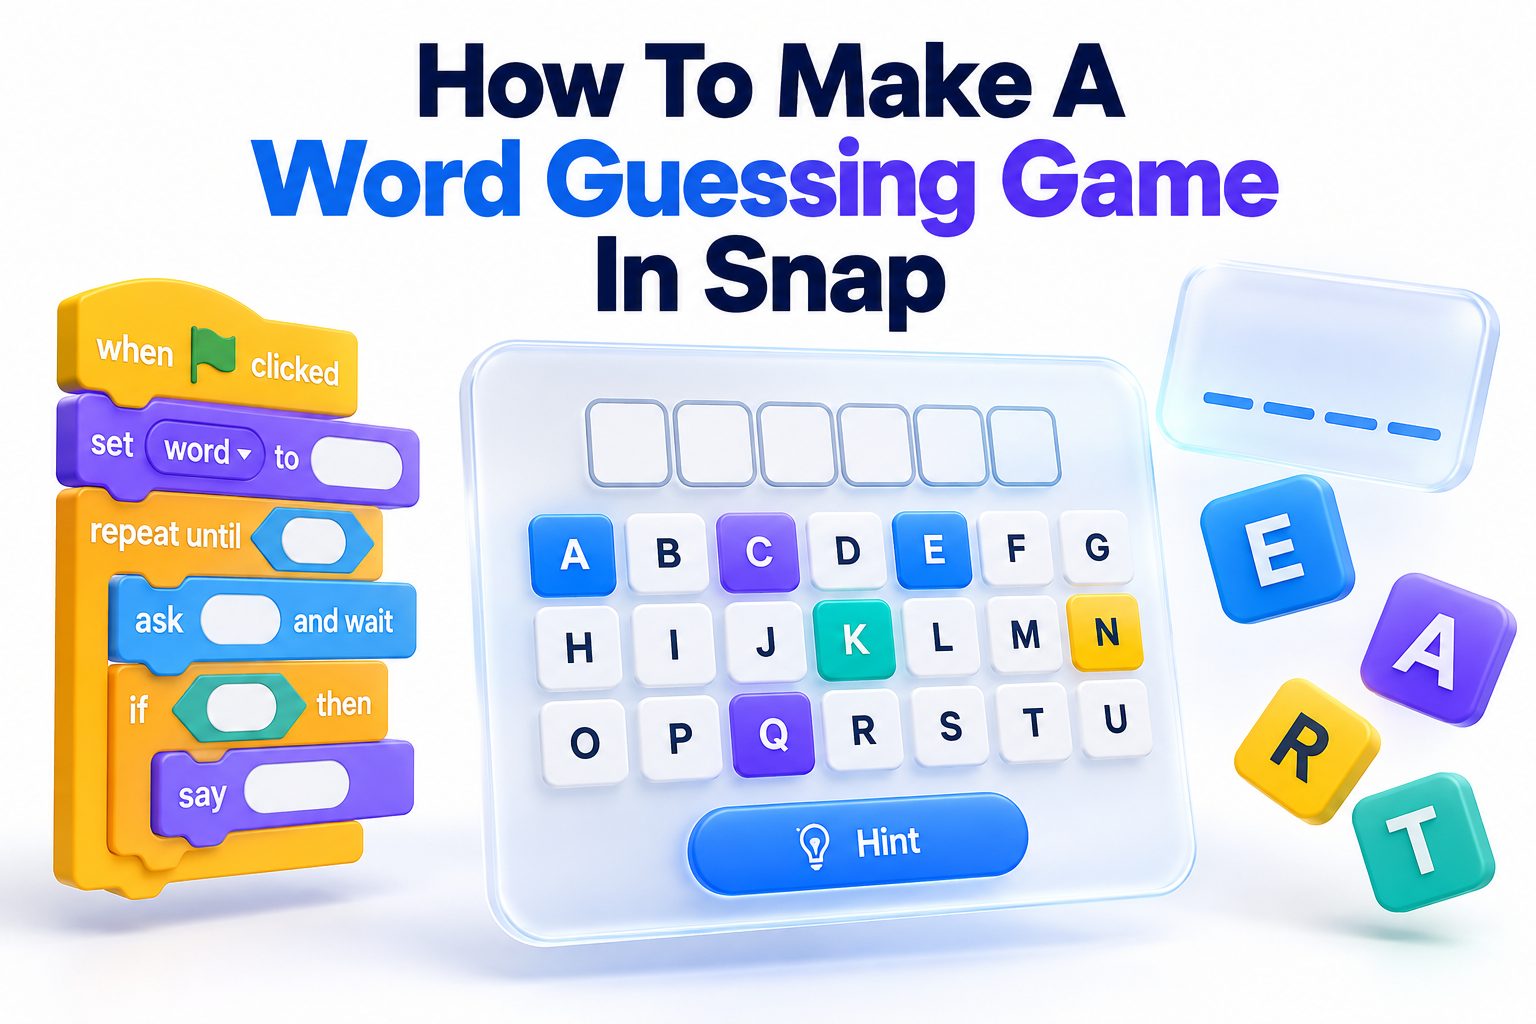
Making a word guessing game is one of the most enjoyable ways to learn Scratch programming. If you are wondering how to make a word guessing game in snap, you can build a complete project with variables, questions, clues, user input, scoring, and simple game logic. The project is suitable for beginners because every feature can be added one step at a time.
Snap! gives you a visual programming environment where code blocks fit together like puzzle pieces. Instead of worrying about complex syntax, you can focus on how the game should behave. A player might guess an animal, fruit, country, or famous character while the program checks the answer and responds immediately.
This type of project teaches several important programming ideas. You will work with variables, conditional statements, loops, lists, broadcasts, and random selection. By the end, you will have a working game that can be improved with levels, timers, sound effects, hints, and a high-score system.
What You Need Before Starting
To begin, open Snap! in a modern web browser and create a new project. You do not need special software or advanced programming experience. A basic knowledge of sprites, scripts, and the green flag will make the process easier, but beginners can still follow the project from the beginning.
Choose a clear theme before building the game. For a first version, an animal guessing game is a practical choice because the words are familiar and easy to spell. You can later change the theme to sports, food, geography, science, or classroom vocabulary.
Set aside a few words for testing. For example, your first word list might include tiger, dolphin, elephant, rabbit, and penguin. Keeping the list short at first helps you find mistakes quickly before adding more questions or advanced features.
Planning the Game Structure
A successful guessing game needs a simple sequence. The program selects a secret word, gives the player a clue, accepts an answer, checks whether the answer is correct, and then displays a result. Once that sequence works, you can add another round.
Write the game flow on paper before creating blocks. Decide what happens when the player enters the correct answer, what happens after a wrong guess, and whether the player gets another attempt. A short plan prevents random block changes later.
Basic game flow:
1. Start the game with the green flag.
2. Set the score to zero.
3. Select a secret word.
4. Display a clue.
5. Ask the player for an answer.
6. Compare the answer with the secret word.
7. Give points or feedback.
8. Start another round or end the game.
Creating the Main Sprite
A sprite can act as the host of your game. It might be a cartoon character, an animal, or a simple colored shape. Select a sprite that is easy to see and give it a few costumes if you want the character to react during the game.
Place a “when green flag clicked” block at the top of the main script. Add a “say” block that welcomes the player and explains the rules. A short message such as “Guess the animal from the clue” gives players enough direction without slowing down the opening.
You can use separate sprites for the host, background, buttons, and decorative elements. However, keep the first version simple. Too many sprites can make troubleshooting difficult, especially when several scripts respond to the same broadcast message.
Setting Up Variables
Create a variable called score. Set it to zero when the game begins so that every new session starts fairly. You can also create variables called secret word, question number, attempts, and hint used as the game becomes more advanced.
Variables store information that changes while the game runs. The score changes after a correct answer, the attempts value changes after a guess, and the secret word changes when a new round begins. These values allow the program to remember what is happening.
Useful variables for a beginner project:
- score: stores the player’s points
- secret word: stores the correct answer
- question number: tracks the current round
- attempts: counts guesses
- hint used: records whether a clue has already been shown
- game status: stores whether the game is active
Choosing the Secret Word
The simplest method is to assign one word directly to the secret word variable. For example, set secret word to “tiger” before asking the player to guess. This approach is useful for testing because you always know which answer the program expects.
After the basic version works, create a list named word bank. Add several possible answers to the list, with one word on each line. A list is better than a long chain of conditional blocks because you can add or remove words without rebuilding the main script.
Use the “item” block to choose a word from the list. A random number between one and the length of word bank can select a different item for every round. Store that selected item in secret word before showing the clue.
Adding Clues for Players
A clue makes the game more enjoyable and prevents it from becoming a spelling test. The clue might describe an animal’s appearance, habitat, behavior, or sound. For example, a tiger clue could say, “I have stripes and live in forests.”
You can begin with one clue for each word by using conditional blocks. If secret word equals tiger, make the sprite say the tiger clue. Repeat the pattern for every word until each answer has useful information.
A cleaner method uses two matching lists. The first list stores answers, and the second stores clues in the same order. If the selected answer comes from item three of the word bank, the program can show item three of the clue bank.
Clue-writing tips:
- Give enough information to make a logical guess.
- Avoid clues that reveal the answer immediately.
- Use short sentences that younger players can read quickly.
- Keep the difficulty similar across questions.
- Add a second hint for harder words.
Asking for the Player’s Answer
Use the “ask and wait” block to collect the player’s response. Place it after the clue so the player has time to read the information. Snap! stores the typed response in the answer reporter, which can be compared with secret word.
The comparison block should check whether answer equals secret word. If the two values match, the player receives a positive message and points. If they do not match, the program can offer another attempt, reveal a hint, or move to the next question.
Spelling creates a common problem. Players may type capital letters or add spaces accidentally. For a beginner project, explain that answers should be typed in lowercase. More advanced versions can convert both values to lowercase before comparing them.
Checking the Answer
Place an “if else” block after the question. Inside the condition, compare answer with secret word. The true branch should celebrate the correct guess, while the false branch should provide helpful feedback rather than simply saying “wrong.”
A correct response might trigger the message “Great job!” and change score by ten. A wrong response could say “That is not the answer. Try once more.” The wording affects how enjoyable the game feels, so use friendly and specific messages.
You can add a variable called attempts to control the number of guesses. Set attempts to three at the beginning of each round. After every incorrect response, change attempts by negative one. The round ends when attempts reaches zero.
Managing Attempts and Feedback
A limited number of attempts gives the game more structure. It also allows you to reward careful thinking instead of encouraging unlimited guesses. Three attempts usually works well for a basic word game, although you can adjust the number for different age groups.
When the player guesses incorrectly, show the remaining attempts. For example, the sprite might say, “Not quite. You have two guesses left.” This message tells the player what to do next and makes the game rules easy to follow.
If the player runs out of attempts, reveal the correct word. Then add a brief explanation of the clue or give the player a chance to start a new round. Revealing the answer keeps the game educational instead of frustrating.
Round control checklist:
- Reset attempts before every new question.
- Ask for a new answer after an incorrect guess.
- Stop asking when the answer is correct.
- End the round when attempts reaches zero.
- Show the correct word after the final failed attempt.
Creating a Repeatable Game Loop
A “repeat” block can run the game for a fixed number of rounds. Place the question process inside the loop and set question number to the desired total. Five rounds are enough for early testing, while ten rounds creates a fuller game.
At the start of each loop, select a new word, show its clue, reset attempts, and ask for an answer. After the answer process ends, increase question number or let the repeat block handle the count automatically.
Make sure the program does not choose the same word too often. You can remove each selected item from word bank after the round ends, but this also removes it permanently during the session. Another option is to keep a used words list and check against it before selecting again.
Using Broadcast Messages
Broadcast messages help separate the project into smaller scripts. One script can prepare a round, another can display the clue, and another can handle scoring. This structure makes the project easier to read and modify.
Create messages such as start game, new round, show clue, check answer, and game over. A broadcast block sends a message, while “when I receive” starts a related script. Each sprite can respond to the same message in its own way.
For example, the main sprite can broadcast new round after the previous question ends. The background sprite can change its appearance when it receives new round. A sound sprite can play a short effect after receiving correct answer.
Building a Scoring System
Scoring gives players a reason to improve. Award ten points for a correct answer on the first attempt, seven points on the second attempt, and five points on the final attempt. This system rewards both accuracy and persistence.
Use an if, else if, and else structure to determine the score. If attempts is still three when the answer is correct, change score by ten. If attempts is two, change score by seven. Otherwise, change score by five.
You can also award bonus points for fast answers, but timing systems add complexity. Begin with an accurate score counter and test it carefully. A score that changes unpredictably can make the game feel unfair.
Scoring ideas:
- First-attempt answer: ten points
- Second-attempt answer: seven points
- Final-attempt answer: five points
- Hint used: subtract two points
- Complete round without mistakes: bonus five points
- Final score above a target: special message
Adding Sound and Animation
Sound effects can make correct answers feel rewarding. Add a cheerful sound when the player succeeds and a softer sound after an incorrect guess. Keep the volume and length modest so the effects do not interrupt the game.
Animation can be simple. Change the sprite’s costume after a correct answer, make it glide slightly, or use a short “change size by” effect. These small reactions provide visual feedback without requiring complicated coding.
Avoid adding sound before the main logic works. Decorative features can hide programming errors and make debugging more difficult. Once the question, answer, attempts, and score systems work correctly, add visual and audio improvements one at a time.
Improving the User Interface
A clear interface helps players understand what to do. Keep the main character near the center, place the score in a visible position, and use a contrasting background. Avoid filling the stage with decorations that compete with the clue.
Use readable text and consistent messages. The introduction should explain the rules, the clue should be easy to find, and the final score should remain visible. If the player needs to click a button, make the button large enough to identify quickly.
You can create a start button sprite that broadcasts start game when clicked. Add a play-again button that becomes visible after game over. Hide these buttons during active rounds so the player does not accidentally restart the project.
Testing and Fixing Common Problems
Testing should happen after every major feature. First check whether the game starts correctly. Then test one correct answer, one incorrect answer, an answer after several attempts, and the game-over screen. Small tests reveal errors before the project becomes complicated.
A frequent mistake is forgetting to reset score or attempts. If attempts is not reset, the second round may end immediately. If score is not set to zero when the green flag is clicked, an old score may remain from a previous session.
Another problem occurs when the clue and answer lists do not match. If item four in the word bank is “penguin,” item four in the clue bank must describe a penguin. Check every pair carefully and remove blank lines from both lists.
Debugging checklist:
- Test the green flag from a fresh start.
- Watch variables while the game runs.
- Confirm every answer is spelled consistently.
- Check that attempts resets each round.
- Verify that the score changes only once per round.
- Test the play-again button after game over.
Adding Difficulty Levels
Difficulty levels give players a reason to replay the project. An easy level can provide detailed clues and four attempts. A medium level can use shorter clues and three attempts. A hard level can provide one clue and only two attempts.
Create a variable called difficulty and let the player select a mode before the game begins. A button sprite can set difficulty to easy, medium, or hard, then broadcast start game. The clue and attempts scripts can respond differently according to that value.
Difficulty can also change the word bank. Use common words for easy mode and less familiar words for hard mode. This approach gives the game meaningful progression without requiring a completely different set of scripts.
Saving a High Score
Snap! projects usually run in the browser, so a high score may not remain after the page closes unless you use additional storage features. Even so, you can display the best score during the current session with a variable named high score.
At the end of each game, compare score with high score. If score is greater, set high score to score and display a congratulatory message. If not, show the current score and encourage the player to try again.
You can also let players enter their names at the beginning. Store the name in a player variable and use it in messages such as “Well done, Maya.” Personal feedback makes a small game feel more polished and engaging.
Ways to Extend the Project
Once the basic game works, add features that support the theme instead of adding complexity randomly. A geography game could display a map, while a science game could play a sound connected to the answer. Each feature should make the questions clearer or more enjoyable.
Consider adding a timer, but test it carefully. A timer creates pressure and can make the game exciting, yet it may frustrate younger players. Give users the option to choose timed or relaxed play if your audience has different skill levels.
Possible extensions include:
- A timed challenge mode
- Multiple-choice answers
- A category selection screen
- A hint button with a point penalty
- A two-player turn system
- A badge for perfect scores
- A list of missed words for review
- Background music with a mute button
Sharing and Improving the Game
Before sharing the project, play it from the beginning as if you were a new user. Check that instructions appear before the first clue and that every button has a clear purpose. Ask another person to play without explaining the code.
Outside testers often find problems that the creator misses. They may type answers differently, click buttons unexpectedly, or misunderstand an instruction. Their feedback can help you improve the wording, layout, difficulty, and pacing.
Save a backup copy before making major changes. If a new feature breaks the project, you can return to the earlier version. Name saved versions clearly, such as WordGame Basic, WordGame Sound, and WordGame Final.
Teaching Programming Through the Project
A word guessing game introduces programming concepts in a practical way. Players can see how a variable remembers information, how an if block makes a decision, and how a repeat block performs the same task several times.
The project also encourages problem-solving. When the game behaves incorrectly, the creator must inspect each part of the process. They learn to isolate the problem, test one change, and observe the result rather than changing everything at once.
Teachers and parents can use this project as a classroom activity. Students can create their own word banks, write clues, test one another’s games, and explain how the code works. This combines writing, logic, design, and digital creativity in one task.
Final Quality Review
A finished game should be easy to start, easy to understand, and satisfying to play. The player should always know the current score, the number of attempts remaining, and what action is required next.
Review every message for spelling and grammar. Make sure the clues are accurate and that the answers are not too obvious or impossibly difficult. Remove unused variables and blocks if they create confusion for anyone reading the project.
Final review points:
- The green flag starts a fresh game.
- Instructions appear before the first question.
- Every clue matches its answer.
- Correct answers increase the score properly.
- Incorrect answers reduce attempts correctly.
- Game over displays a useful final message.
- The play-again option works as expected.
- The project remains enjoyable without sound.
Conclusion
Creating a word guessing game in Snap! is a practical way to build confidence with visual programming. The project starts with a simple idea: choose a word, provide a clue, collect an answer, and respond to the player. From there, you can add variables, lists, loops, scoring, attempts, broadcasts, animation, and sound.
The most important approach is to build gradually. Test the basic question system before adding levels or special effects. Keep your words and clues organized, reset important variables at the right time, and use feedback to help players continue after a wrong answer.
A well-designed game does more than check spelling. It teaches players how programs store information, make decisions, repeat actions, and communicate results. Once your first version works, change the topic, invite someone else to play, and improve the project based on their experience. With thoughtful planning, your Snap! game can become both an entertaining activity and a strong introduction to programming.
FAQ
How difficult is it to create a word guessing game in Snap?
The project is suitable for beginners because Snap! uses visual blocks instead of typed programming syntax. Start with one word and one clue, then add lists, scoring, attempts, and extra rounds after the basic answer-checking system works.
Can the game choose a different word every round?
Yes. Create a word bank list and use a random number based on the list length to select an item. Store the selected item in the secret word variable before displaying its clue.
How can I prevent players from guessing forever?
Create an attempts variable and set it to a fixed number at the beginning of each round. Reduce it after every wrong answer, then end the round when the value reaches zero.
Can I add hints without making the game too easy?
Yes. Add a hint button that reveals one extra detail after the player requests help. You can subtract points when a hint is used, which keeps the feature useful while preserving challenge.
What should I add after finishing the basic game?
Good next steps include difficulty levels, a timer, sound effects, animations, categories, a high-score display, or a two-player mode. Add one feature at a time and test it before changing another part of the project.
0 Comments